


![[預購] PURE 透明支架卡包 (兼容MagSafe) - UNIU 官方網站](http://uniu.com.tw/cdn/shop/files/pure-magsafe-665902.png?v=1733124509&width=104)
![[預購] MagOp 磁吸旋轉開瓶支架 (兼容MagSafe) - UNIU 官方網站](http://uniu.com.tw/cdn/shop/files/magop-magsafe-715102.png?v=1733124511&width=104)


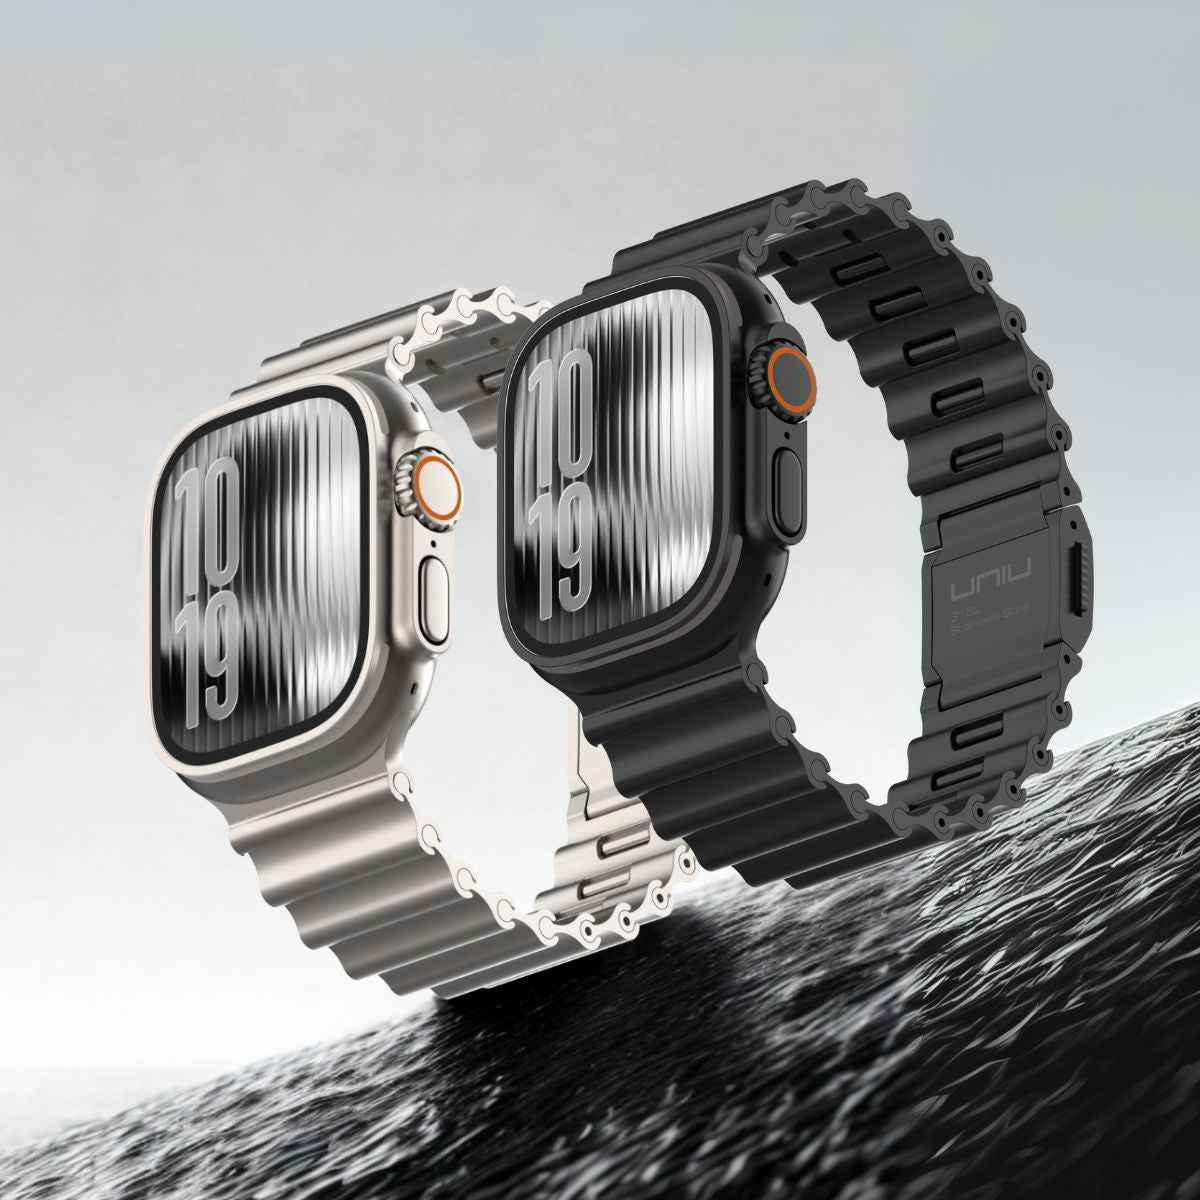
![[預購] Titan 無畏極限錶帶 - UNIU 官方網站](http://uniu.com.tw/cdn/shop/files/titan-485319.png?v=1735888907&width=104)

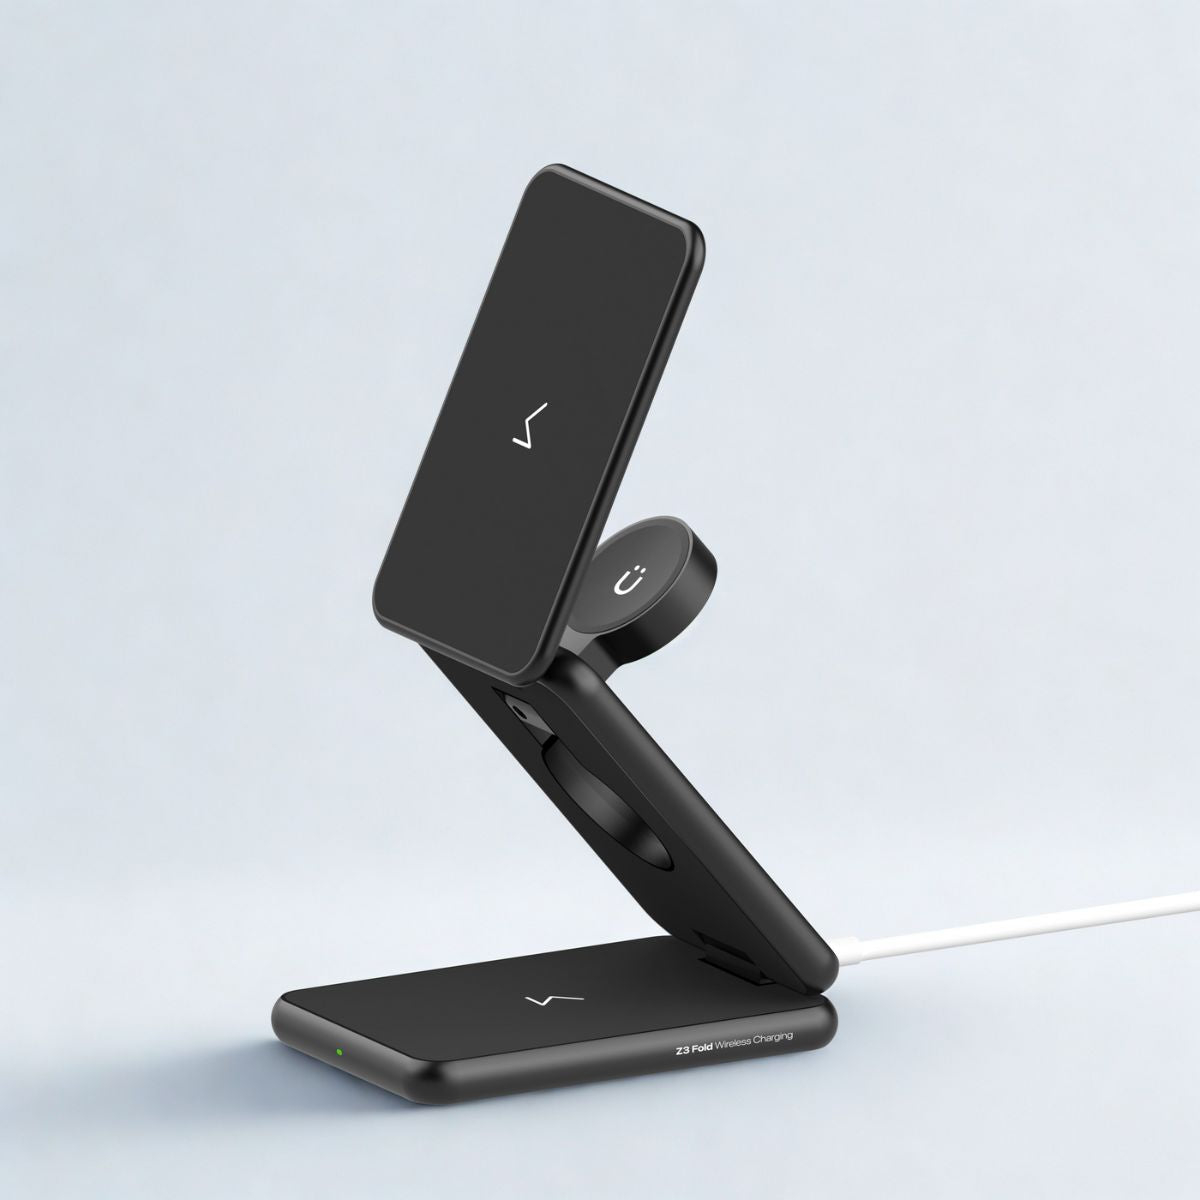
![[預購] Z3 折疊無線充電器 - UNIU 官方網站](http://uniu.com.tw/cdn/shop/files/z3-549743.png?v=1733124508&width=104)

How to install an Apple Watch band
Changing your Apple Watch band is an easy and fun thing to do, allowing you to switch up your style at any time to suit different occasions. Below are detailed instructions on how to install the watch strap correctly, so you can complete the operation easily.
Preparation
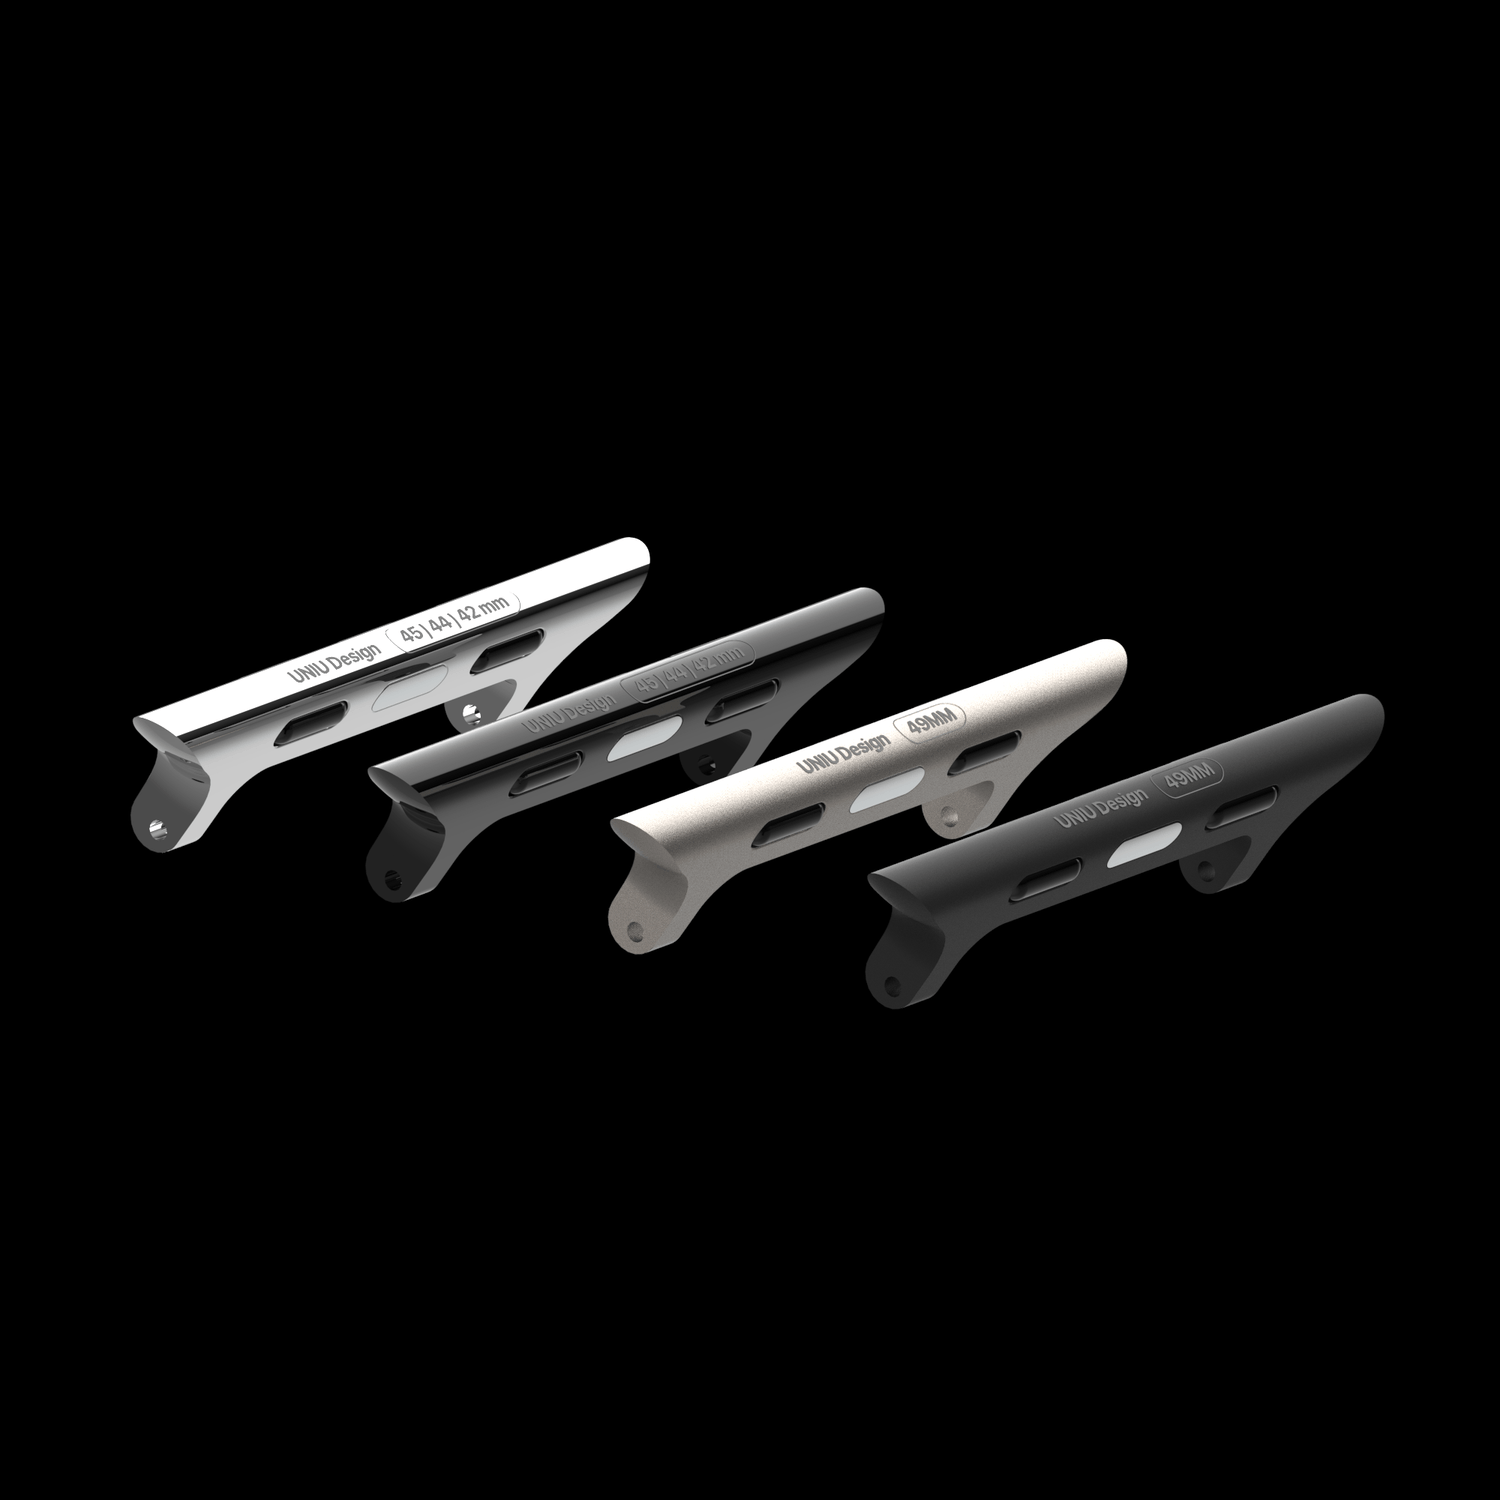
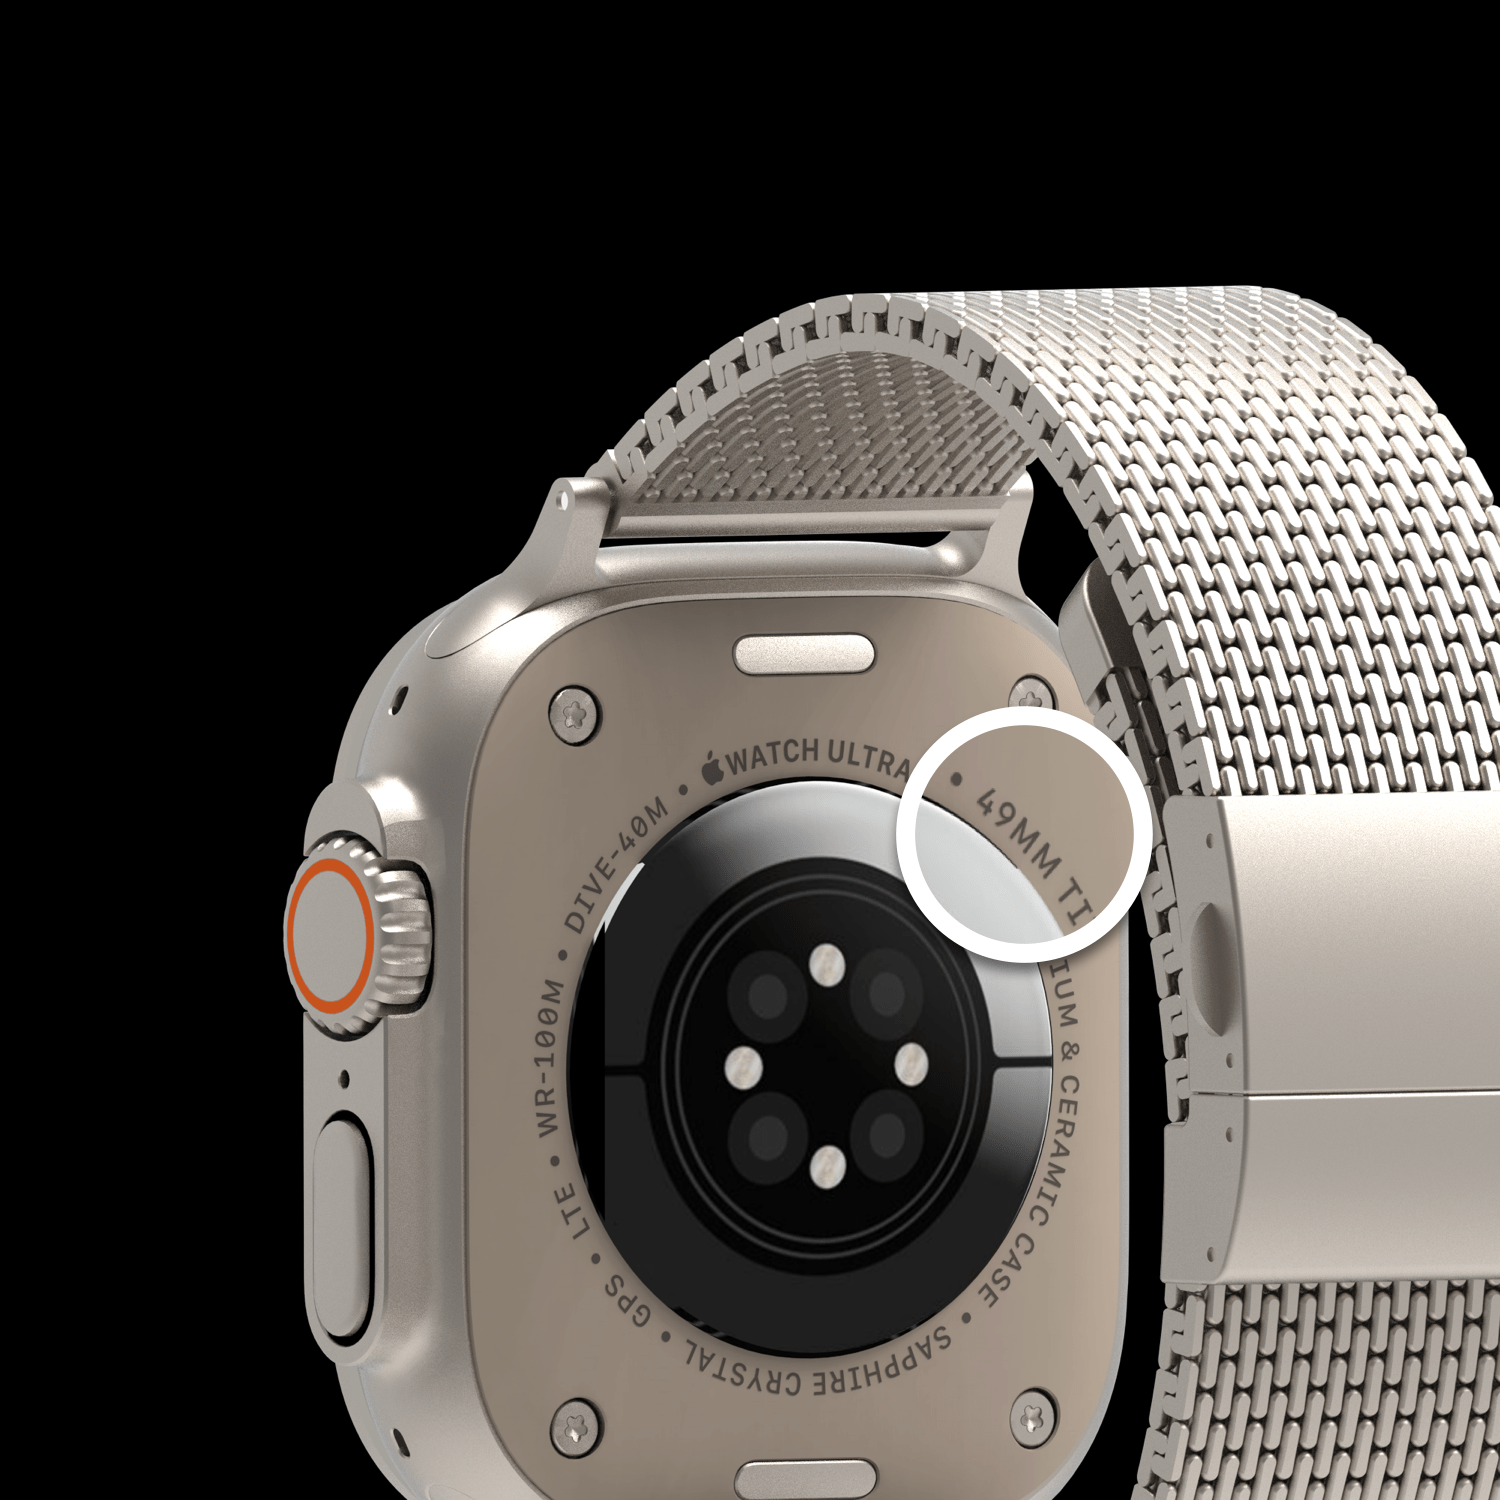
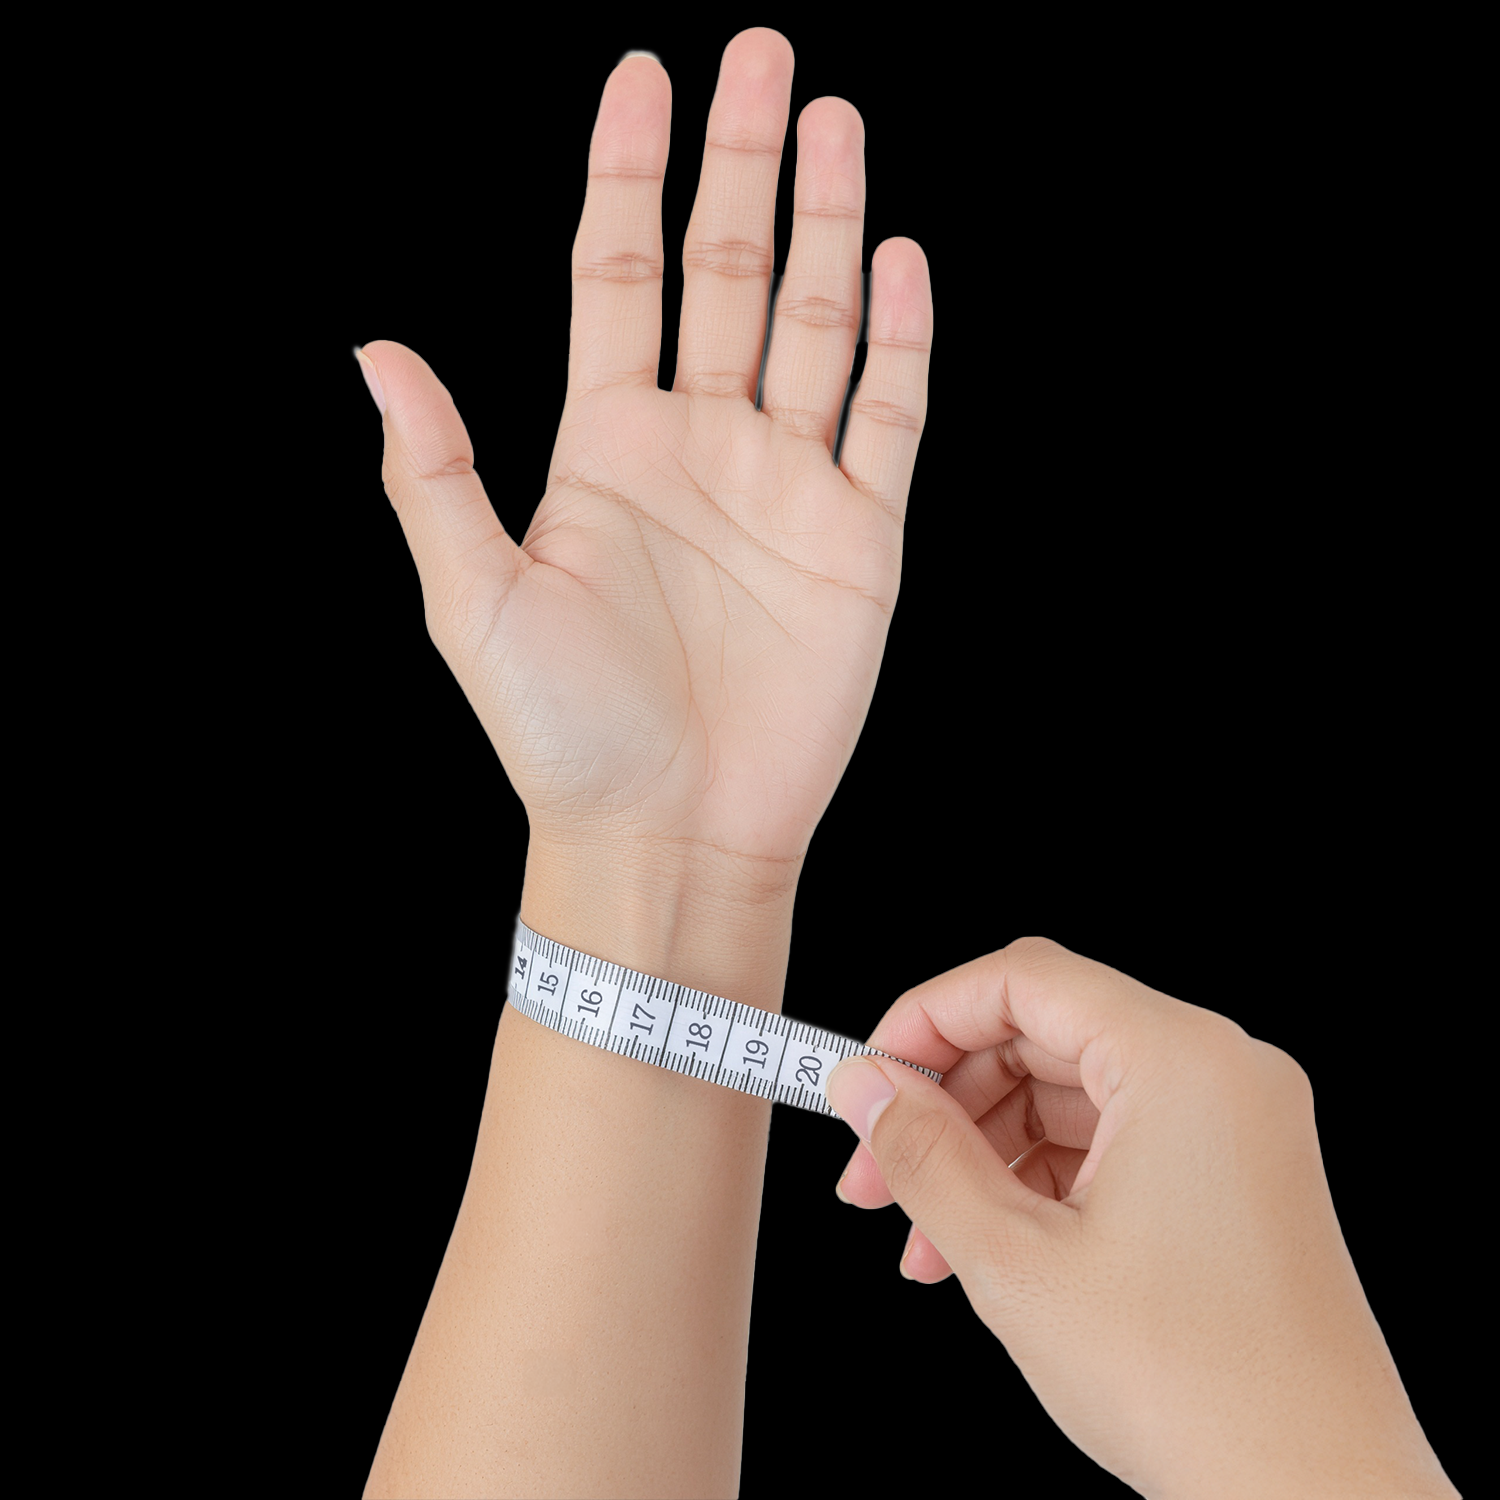
1. Determine your Apple Watch model and size
• The case sizes of Apple Watch are mainly 38/40/41/42mm and 44/45/46/49mm. Please make sure that the strap you choose matches the size of your watch.
2. Prepare a clean operating environment
• Work on a soft cloth or silicone pad to avoid scratching your watch or strap.
Removing the original strap
1. Locate the strap release button
• On the back of the Apple Watch, you can see two small buttons near the strap interface, corresponding to the upper and lower straps respectively.
2. Press and hold the release button and slide the strap
• While pressing the button on one side, gently slide off the strap. If it doesn't slide, adjust the button position slightly and try again.
3. Repeat the steps to remove the other side of the strap.
• Make sure both sides of the strap come off smoothly without using too much force.
Installing a new strap
1. Confirm the strap direction
• Apple Watch bands are usually divided into two sections: a shorter section is installed above the watch (close to the back of the hand) , and a longer section is installed below the watch (close to the inside of the wrist) . If it is a one-piece watch strap, it is recommended to put the connectors on both sides into the card slot at the same time.

2. Note the spring buckle design
• There is usually a spring buckle mechanism in the middle of the new watch strap. When installing, you need to press the spring buckle so that it can slide smoothly into the strap slot of the Apple Watch.
 • For Apple Watch Ultra, please be careful to avoid scratching or damaging the surface of the spring buckle due to the sharp design of the connection.
3. Slide into strap
• While pressing the spring buckle, align the strap with the slot on the case and gently slide it until you hear a "click" sound or feel it snap into place.

• Repeat the steps to install the other side of the strap.
4. Check stability
• After installation, gently pull the strap to confirm that it is secure and ensure that it will not come loose when worn.
Precautions
• Check for stability : After installation, gently shake the strap to confirm that it is securely fastened to prevent it from loosening during use.
• Keep the direction consistent : Pay attention to the front and back of the strap when installing. The identification method is that the three black dots on the connector are facing outwards and the silver metal dots are facing inwards. .
• Maintenance tips : Stainless steel metal material, can be cleaned with neutral soap.
Leave a comment
This site is protected by hCaptcha and the hCaptcha Privacy Policy and Terms of Service apply.